Wondering how to make tassels to add too your knitting projects? This quick and easy guide will show you how to add tassels to a few of your projects.
What projects can you add tassels to?
- Scarves
- Blankets and throws
- Cushion covers
- Tablecloths and table runners
- Bunting
- Bags and zippers
How to make tassels
Instruction for a tassels on a scarf, blankets, throws, cushion covers, tablecloths and table runners
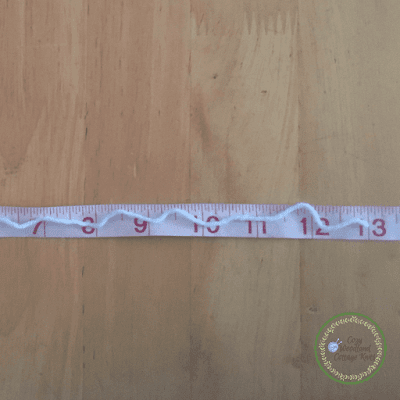
1. Make tassels by cutting 3 strands 13 inches long or twice the length you would like, repeat so you have the number of tassels you would like.

2. On the right side put the crochet hook through the last row or edging where you would like the tassel.

3. Hold the ends of the 3 strands to make a loop and hold the other end, place the loop on the crochet hook.

4. Pull the yarn through to start making the tassel

5. Tie a knot through the loop and pull tight to secure the tassel


6. Put a tassel at each end and space them out evenly, for scarves I like to space them about 3/4 inch apart. It doesn't matter if it isn't exact. Repeat along where you would like the tassels.

Finished tassels on the end of a scarf.

Instructions for a tassel on a bunting
1. Get a piece of cardboard the length you would like your tassels to be and wind the yarn around the cardboard.

2. Wind the yarn around until it is the thickness you would like and cut the end of the string down the bottom as shown in the second photo.


3. When you have finished winding the yarn around, get a piece of string about 6 inches long and tie 2 knots to secure it. You can use the ends to tie the tassel onto the bunting later on.

4. Cut along the bottom where you cut the end of the yarn earlier in step 2

5. Get another piece of string about 15 inches long and a little bit down down from the first piece of yarn tie 2 knots to secure it.

6. Wrap the yarn around and around in opposite directions leaving enough left to tie it making 2 knots before cutting off the end.


7. Trim the ends of the tassel if need be.

Tie onto a bunting or on a bag handle
Instructions for making a tassel key ring to go on a zipper on a bag, pencil case
1. Make tassels by cutting about 20 stands of yarn twice the length you would like them to be.


2. Gather the stands together and put over the key ring with half of the yarn on either side.


3. With a piece of string about 6 inches long tie 2 knots to secure it
4. Wrap the yarn around and around in opposite directions leaving enough left to tie it making 2 knots before cutting off the end.

5. Trim the ends of the tassel if need be and put the key ring on a zipper on a bag or pencil case or you could also add it to your key ring.

Have fun making your own tassels, here are mine on the table top after I finished making them all

Related posts
You can find more techniques here Step 9 - Other techniques


No comments:
Post a Comment