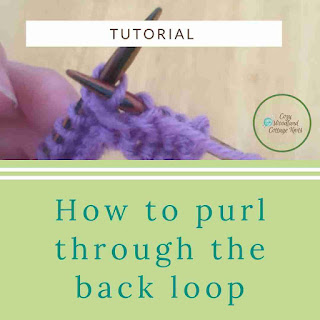
A quick and easy tutorial on how to knit through the back loop, with each step written with instructions and photos, also includes image descriptions as well. This tutorial is similar to our tutorial on how to knit through the back loop.
[Start of image description for image above: A photo of a pair of knitting needles with stitches cast on in a purple yarn, with the right hand needle through the back of the stitch on the left hand needle. On the top is a white rectangle at the top of the photo "Tutorial" Underneath is a sage green square with two white stripes and the words "How to knit through the back loop (KTBL)". End of image description.]
[Start of image description: a photo of a photo of a pair of knitting needles with stitches cast on in a purple yarn, with the right hand needle through the back of the stitch on the left hand needle. On the top is a white rectangle at the top of the photo "Tutorial" Underneath is a sage green square with two white stripes and the words "A quick and easy tutorial on how to knit through the back loop, with each step written with instructions and photos, also includes image descriptions as well". End of image description.]
How to purl through back loop (PTBL)
1. Purl to where you would like to purl through the back loop.

[Start of image description: a wooden table with two knitting needles with stitches cast on in purple. Stopped about half way through the row. End of image description.]
2.Grab the stitch from the back (don't worry it looks kind of funny)

[Start of image description: a wooden table with two knitting needles with stitches cast on in purple, the right hand knitting needle is through the back of a stitch of the purl stitch on left hand needle to purl through the back of the stitch. End of image description.]
3.Put the yarn around the needle like you do when you purl

[Start of image description: a wooden table with two knitting needles with stitches cast on in purple, the right hand knitting needle is through the back of a stitch on the left hand needle with yarn wrapped around the right hand needle to purl the stitch. End of image description.]
4.Slide the stitch off the needle

[Start of image description: a wooden table with two knitting needles with stitches cast on in purple, the right hand knitting needle is through the back of a stitch on the left hand needle and yarn has been wrapped around the right hand needle and the stitch is being slipped off the knitting needle. End of image description.]
5. You have now finished purling through the back loop and can finish the rest of the row as the pattern states or as you wish if your not using a pattern.
[Start of image description: a wooden table with a piece of knitting where all of the stitches have been knitted on a knitting needle. Arjaye's finger is pointing to the stitch that was purled through the back of the loop. End of image description.]
When might you purl through the back loop?
Here are a few times you might knit through the back loop:
- Stitch patterns.
- When increasing by purling through the front loop and the back loop.
If you love this post please pin!
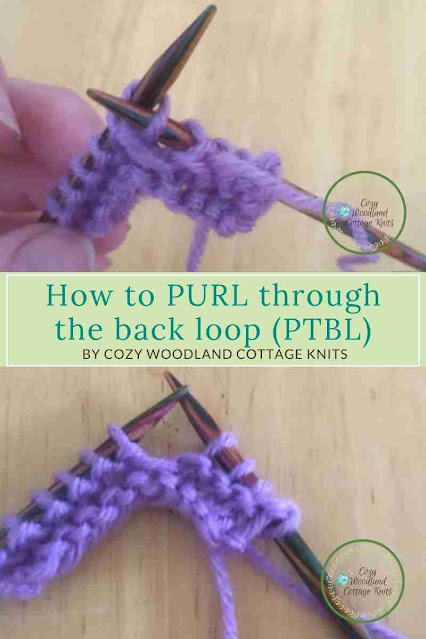
[Start of image description: a wooden table with two knitting needles with stitches cast on in purple, the right hand knitting needle is through the back of a stitch of the purl stitch on left hand needle to purl through the back of the stitch. in the middle is a sage green rectangle with a white border and the words "How to purl through the back loop (PTBL). By Cozy Woodland Cottage Knits". The photo below is of a wooden table with two knitting needles with stitches cast on in purple. Stopped about half way through the row. End of image description.]
[Start of image description: Arjaye's signature with two toadstools in between the letter j and the letter y. Next to it is a fairy with blue hair, a green wreath headband, blue lips and yellow wigs, she is wearing a sage green dress. The fairy sitting on top of a yellow toadstool with blue dots and blue underneath the toadstool. Next to the fairy is a black cat holding a turquoise ball of yarn. End of image description.]


No comments:
Post a Comment
Hi thanks for leaving a comment I love hearing from you.